In the era of minimalism and decluttering, optimizing your living space without compromising style is a priority for many. While pre-made furniture offers quick solutions, nothing beats the personalized touch of a do-it-yourself (DIY) project. One such project that blends practicality with aesthetics is creating your own floating shelf. Not only does it offer extra storage, but it also serves as a sleek decorative element in your home. Below are two key phases for making your DIY floating shelf a reality.
Gather Your Materials and Tools
Before diving into the project, you’ll need to gather some essential materials and tools. Start by deciding the dimensions of your shelf. Once you’ve got the measurements sorted, pick up a wooden board from a local hardware store that fits your criteria. You’ll also need some heavy-duty wall brackets, wall plugs, and screws for mounting the shelf. Tools you’ll require include a power drill, a level, a tape measure, a pencil for marking, sandpaper, and paint or varnish to finish the wood. Optionally, you can get some decorative elements like hooks or under-shelf LED strips to jazz up your shelf.
Assembly and Installation
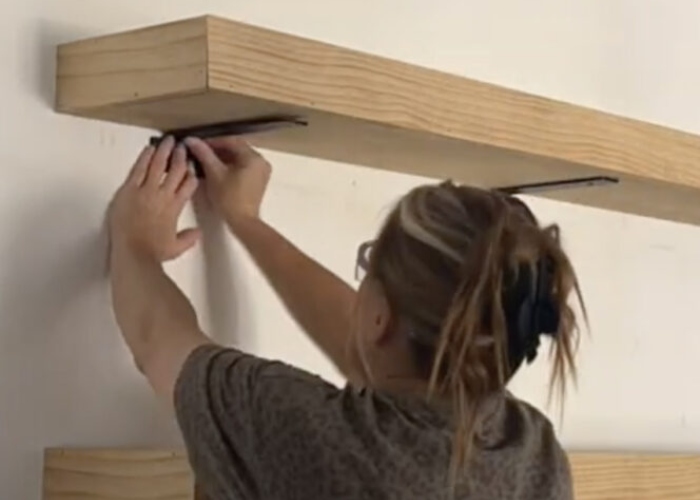
After gathering all necessary items, begin by sanding the wooden board to smooth out any rough edges. Once that’s done, apply your choice of paint or varnish and let it dry completely. Now, onto the installation. First, identify the location on your wall where the shelf will go. Use a level and tape measure to mark the exact spots for the brackets. Drill holes into these markings, insert wall plugs, and then fix the brackets into place with screws. Finally, place your wooden board on the brackets, securing it with screws if necessary. If you opted for additional features like hooks or LED strips, now’s the time to add those finishing touches.